

Steps Followed To Sign A Contract In BRD MINUZA System

Steps Followed To Sign A Contract In BRD MINUZA System
In October 2015, the Government of Rwanda gave the mandate of management of students’ loans and bursaries to BRD in compliance with the provisions of Law No 44/2015 of 14/09/2015 governing student loans and bursaries in Rwanda. This role was previously undertaken by the Ministry of Education.
The Bank provides loans for higher education at both undergraduate and postgraduate levels, and beneficiaries must be studying either in Rwanda or Abroad.
- A student is required to apply to the Ministry of Education through its agency in charge of higher education student loans and bursaries. Currently, the HEC(Higher Education Council) handles the management of applications and granting of student loans to successful applicants. See how to apply for a loan.
- After being granted a loan, a student then signs a contract with BRD for the disbursement and recovery arrangements.
Table of Contents
- What is MINUZA system?
- BRD Contract Signing Step by Step
- How To Log into Your MINUZA Account
- How To Navigate into The MINUZA System Dashboard
- How to change your payment method in BRD MINUZA system
What is MINUZA system?
MINUZA System is a platform made by BRD for managing students loans provided by BRD, through this system students can create an account, sign a contract with BRD, and view their monthly living allowance and their total consumption loan. In today’s guide I will walk you through how to create an account in MINUZA system, how to log in in MINUZA system and how to navigate your MINUZA dashboard.
BRD Contract Signing Step by Step
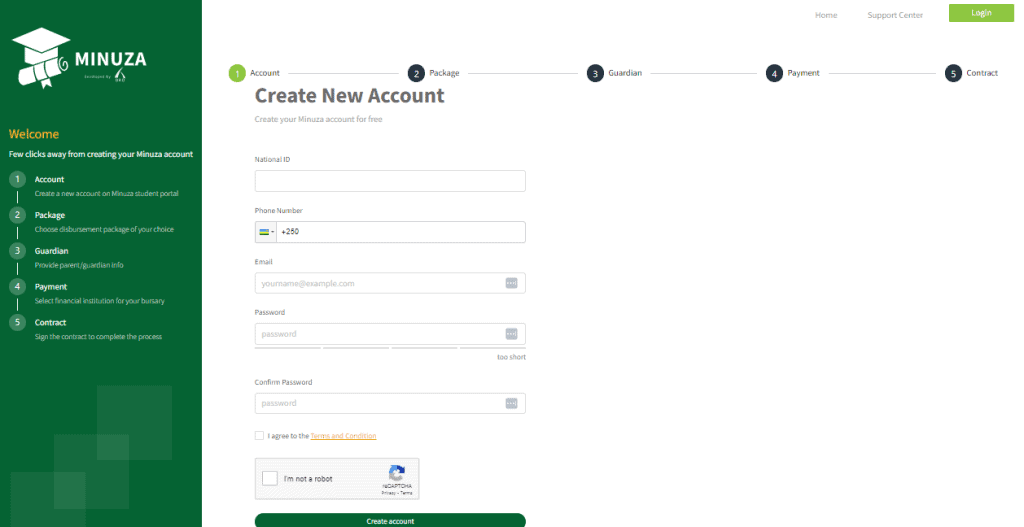
Step1: Creating an account
After receiving an email notification that you have been granted a loan by HEC click on the link and create your account enter your details as shown below
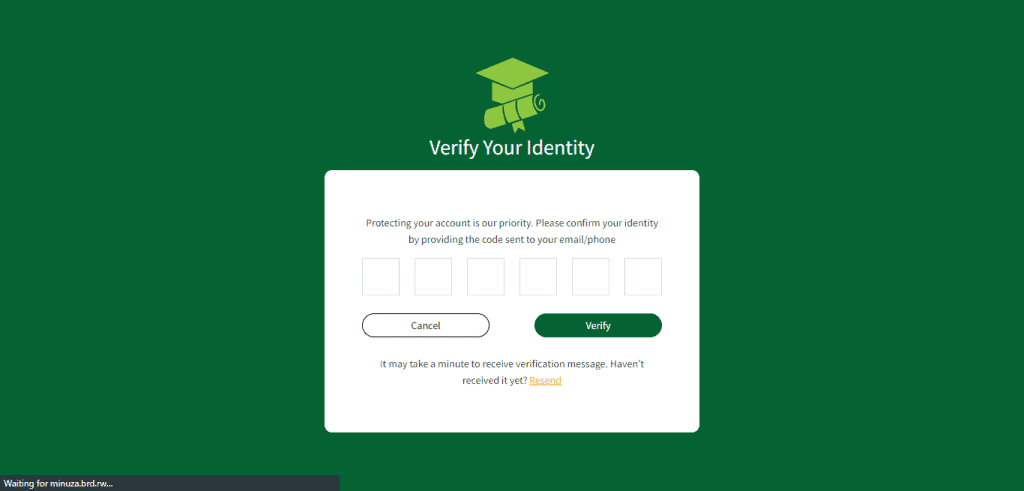
Step2: insert the verification code you get on your mobile phone
The MINUZA system will prompt you to enter a verification code sent to your phone. Follow the instructions as the below image
Step3: Choose Disbursement Package of Your Choice
Here you will first select the university in which you will study in and then you select the amount of money you wish to receive (its 40, 000RWF per month) then click next.
Step4: Provide Parent/Guardian Information
Here you will provide your parent or guardian information
Step5: Select Financial Institution for Your Bursary
Here you select the mode of payment or the way you wish to receive your monthly bursary. You can choose bank, MTN Momo or Airtel money. Make sure to check each bank’s charges before you choose. Click next
Step6: Sign the Contract to Complete The Process
Read the contract and if you agree sign the contract and download it
Step7: Finishing sign Contract
This is where you finish. it may not look exactly like this but this is for some one who has already received some bursary money.
How To Log into Your MINUZA Account
Step1: Go on minuza.brd.rw
Step2: Insert your email or phone number and your password
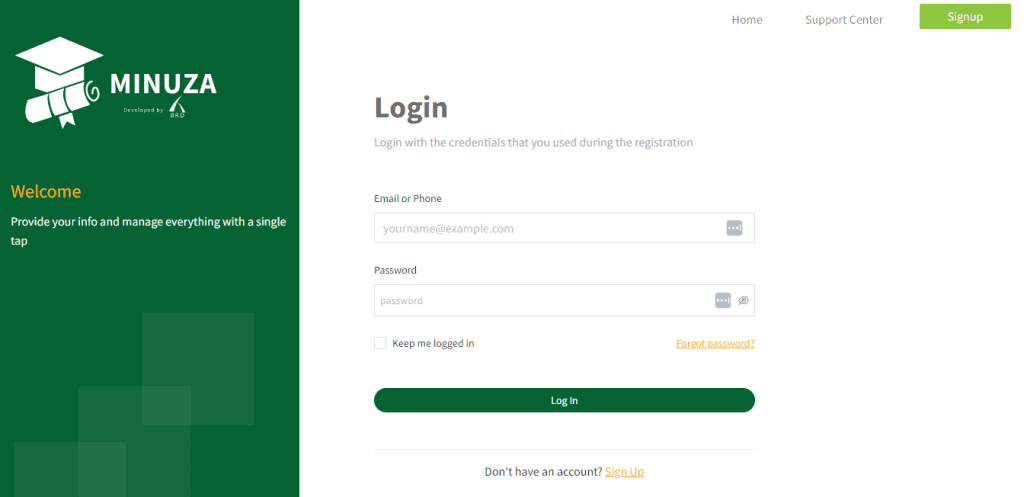
Step3: Insert the verification code you get on your mobile phone
Step4: You are in your MINUZA account dashboard
How To Navigate into The MINUZA System Dashboard
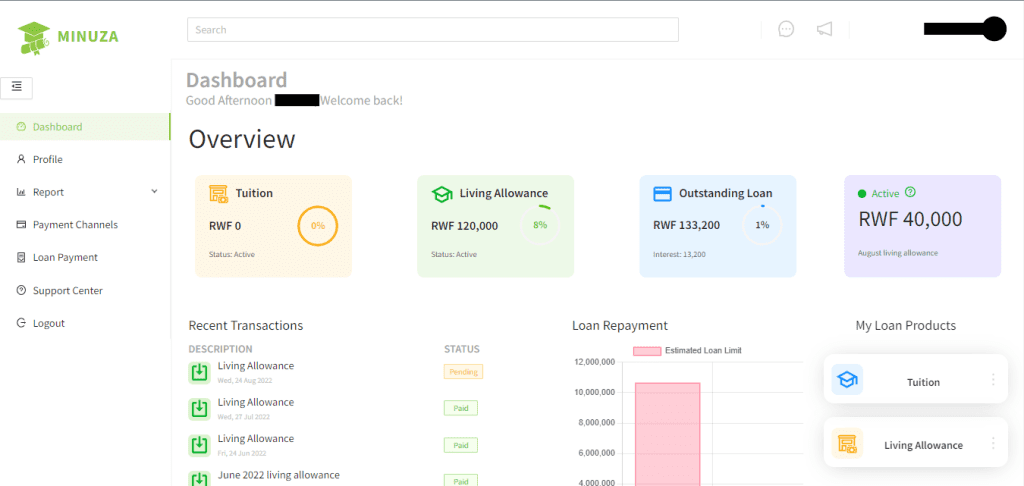
Part1: your dashboard
This is your dashboard
On the first part you will see
On this part called living allowance you will find the total monthly living allowance you have received. For our case it is 120,000RWF.
The next box is for outstanding loan means that the total amount of money you will pay after the time you are in university.
The next box shows the active living allowance and the month.
The next is Recent Transactions or the money you recently received
The loan repayment graph compares total loan limit and total disbursement
Other parts lead to the next section
Part2: Profile
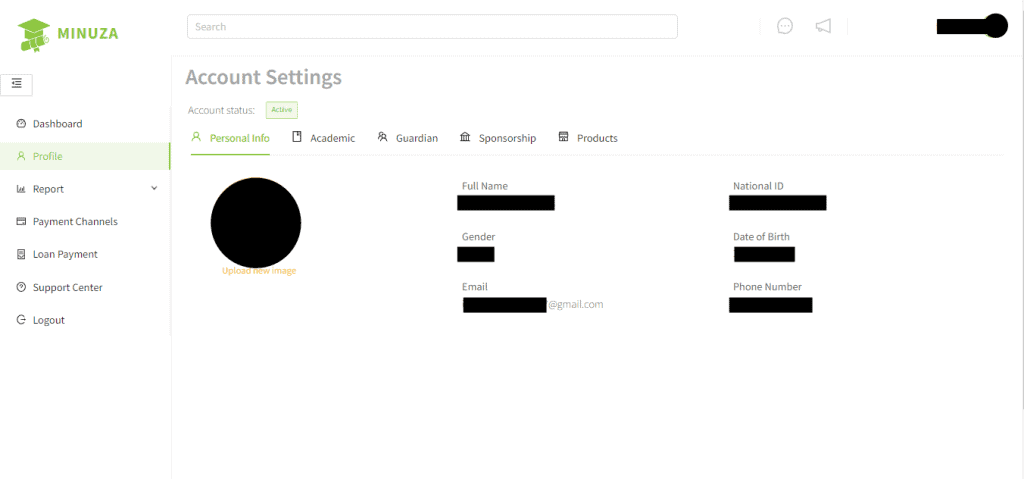
This is where you will find your personal info, your academic data, the details you entered for your guardian, the body which sponsors you and a section called products containing the tuition and living allowance.
Part3: Report
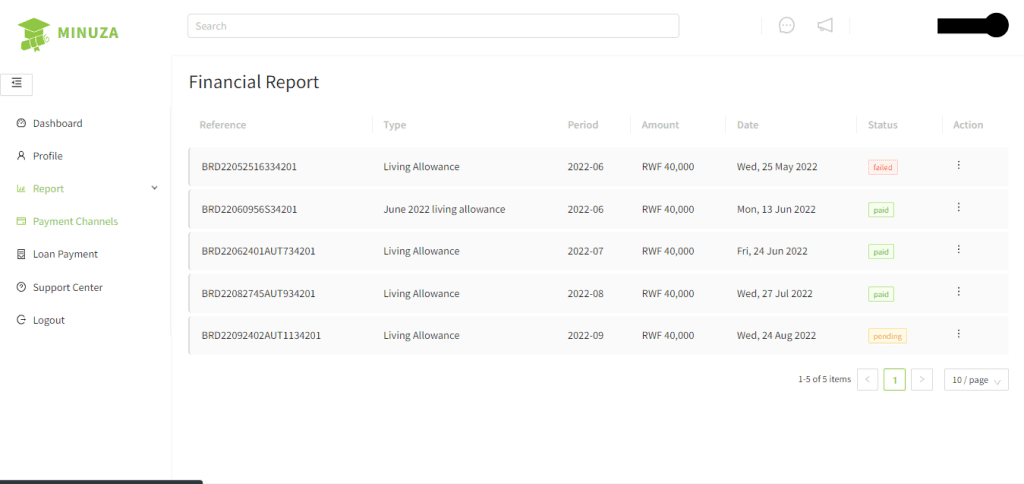
They are three sections of report:
Financial report: which shows all the living allowance you have received and the date and the reference transactional number
Contract report: which displays the contract information about you.
Academic report: which shows your academic history and the year which you are enrolled in
Part4: Payment channels
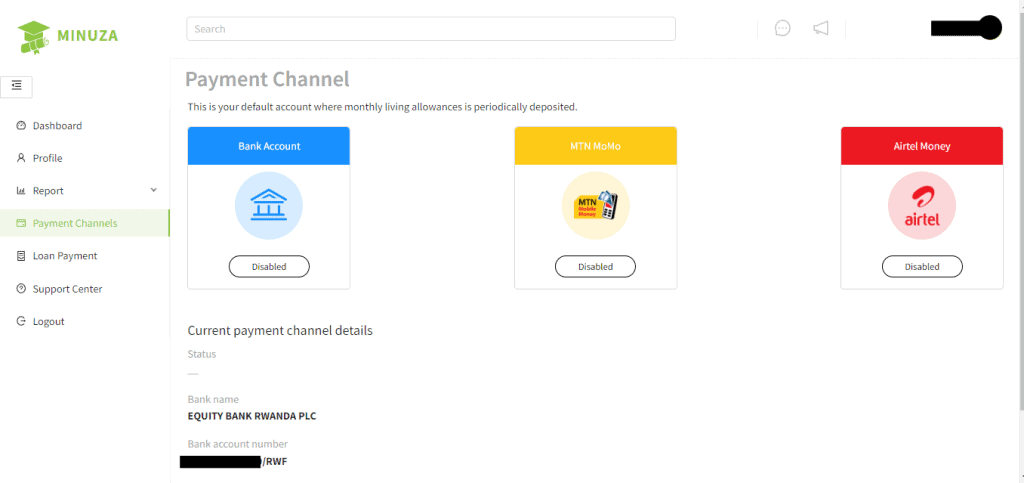
This is where you will find the Current payment channel details you entered to get your living allowance monthly money. It is good to know that you can change kindly follow this guide to change your payment channel.
Part5: Loan payment

This section has a button where you can click and start repaying your loan
Part6: support center
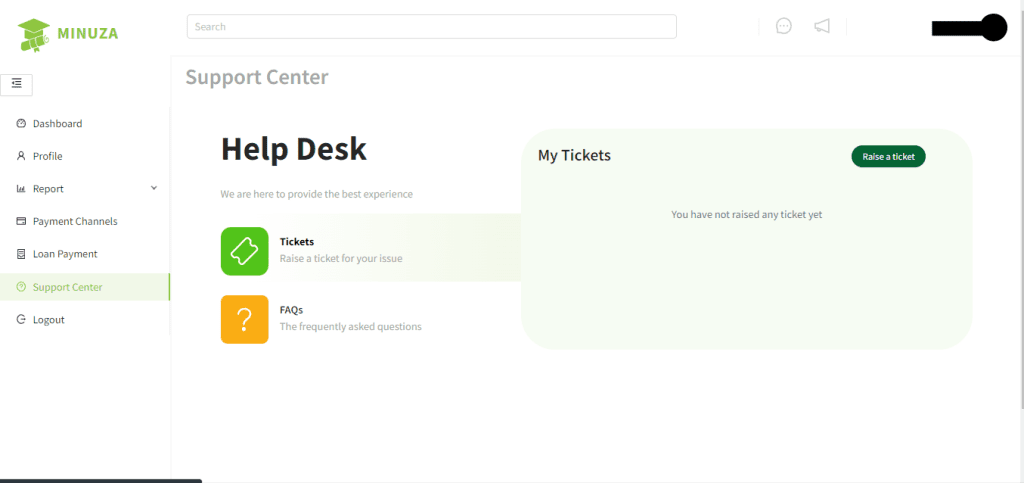
This section is where you can ask for help by raising a ticket.
![]()
